
The automatic bilge pump is a comfort and safety device built into sailing boats and non-self-draining boats. The purpose of this dewatering tool is to draw water out of a vessel’s bilge and discharge it to the outside via a hatch. In this guide, you will learn in detail how to installa bilge pump to keep your bilge dry.
Preparing the location for the automatic bilge pump
Before installing your automatic bilge pump, consider cleaning the bilges thoroughly, especially the place where the pump is to be installed. Be aware that bilge pumps usually malfunction because of solid objects such as grains of sand. These clog the valves and eventually damage moving parts of the pump such as the impeller or diaphragm.
Installing the strainer and float
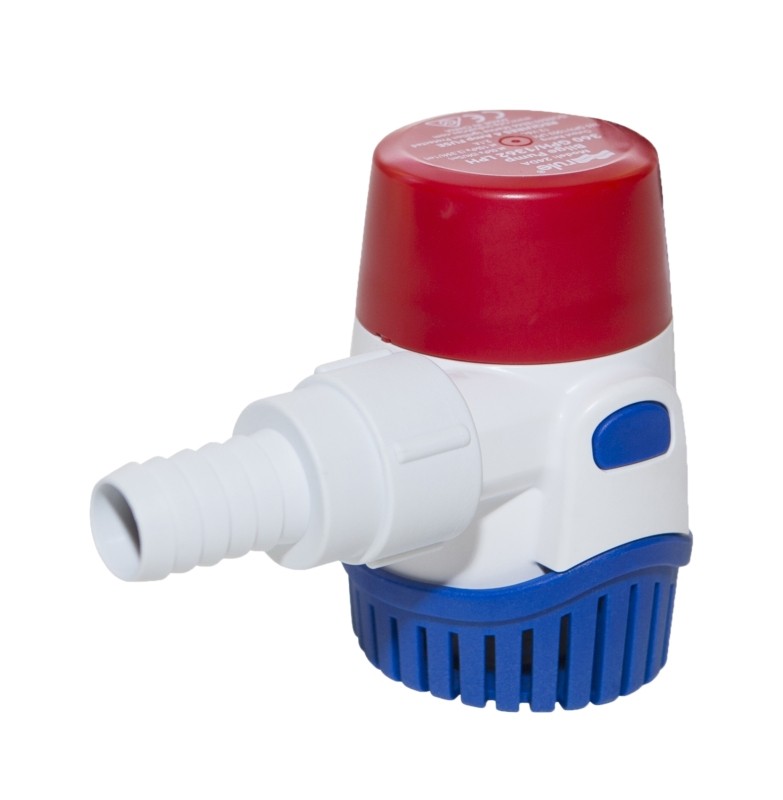
The circuit of an automatic bilge pump usually consists of a few components such as the strainer, the pump, the trigger float and the grommet. You start by installing the strainer and float. Be aware that the strainer can be made of metal or plastic and acts as a base (support) and filter for the pump.
Tips to remember when installing the strainer
The strainer is usually equipped with a non-return valve to prevent the drained water from flowing back. Place the strainer in the intended location and mark the location of the fixing holes with a pen. Then remove the strainer. Drill shallow holes in the markings with a drill. Fill each hole with sealing compound. Use the same method for the float, placing it as close as possible to the strainer.
Making the electrical connections
- To make a basic assembly, run an electrical cable from the ground wire of your pump to the negative terminal of the battery.
- Then run electrical cables from the pump’s “On” and “Auto” positions to the 3-way switch at the control or electrical panel.
- Finally connect the switch to the positive battery terminal.
Some tips to remember
Although electrical cables are installed in a wet environment, use heat-shrink tubing with adhesive to prevent short circuits. For added safety, consider attaching the cables with plastic cable ties to an existing wiring harness. To connect the trip float, place it on the “positive” and “automatic” wire of the switch.
Installing the grommet
This component allows water to be drained overboard. The through-hull is installed close to the bilge pump and not too close to the waterline. Once you have located the location, use a drill to cut a hole in the hull slightly larger than the diameter of the discharge pipe. This hole should be drilled from the outside to the inside. Before attaching the through-hull, fill the hole with marine sealant.


